Link to original blog post (moon lamp project).
The final product is a #3dprint of a #moonlamp:

I’ve 3d printed a moon lamp and installed it on an old lava lamp stand.
The process:
1. 3D Printing
3D model:
https://www.printables.com/model/23859
Slicing:
I used the following settings, as recommended by the model designer:
- material: white Overture’s PLA
- Printer: Sovol SV06, no mods
- Temp: 220C/60C
- Layer height: Normal, 0.2 mm
- Infill: 100%
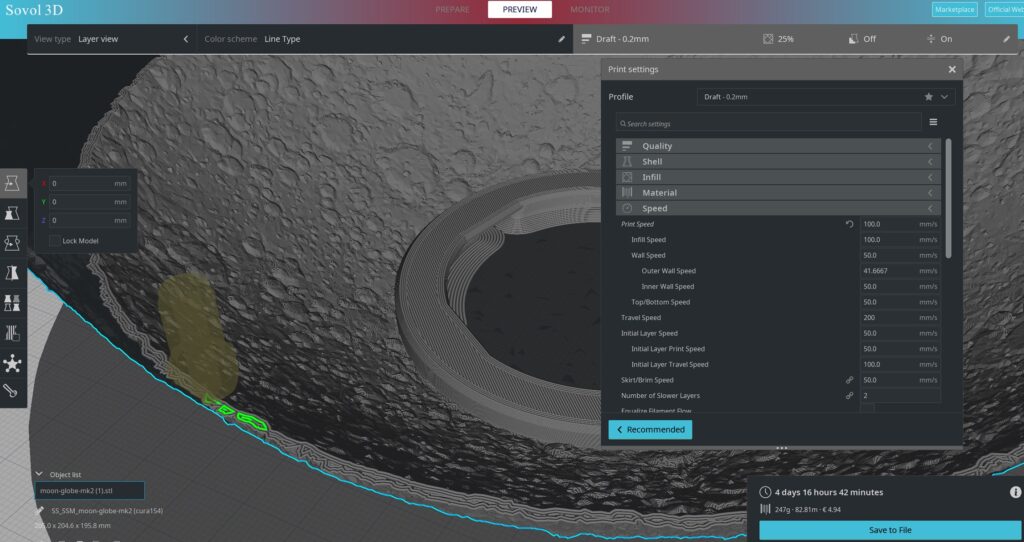
- Speed: 100mm/s
- No supports
- Slicer: Sovol Cura 1. 5. 4
I’ve tried to slice with Sovol Cura 1. 7. 2, but it crashed when I tried to save .gcode. I also tried with Prusa Slicer (for the first time), but it printed spaghetti. I didn’t have printer profiles correctly set up and I didn’t want to bother tuning, so I reverted back to old proven Sovol’s Cura. Maybe I’ll use it next time when I will fine-tune my printer profile.
Nevertheless, the slicers calculated the following times:
- Sovol Cura 1.5.4: 4 days 16 hrs
- Sovol Cura 1.7.2: 2 days
- Prusa Slicer: 3 days.
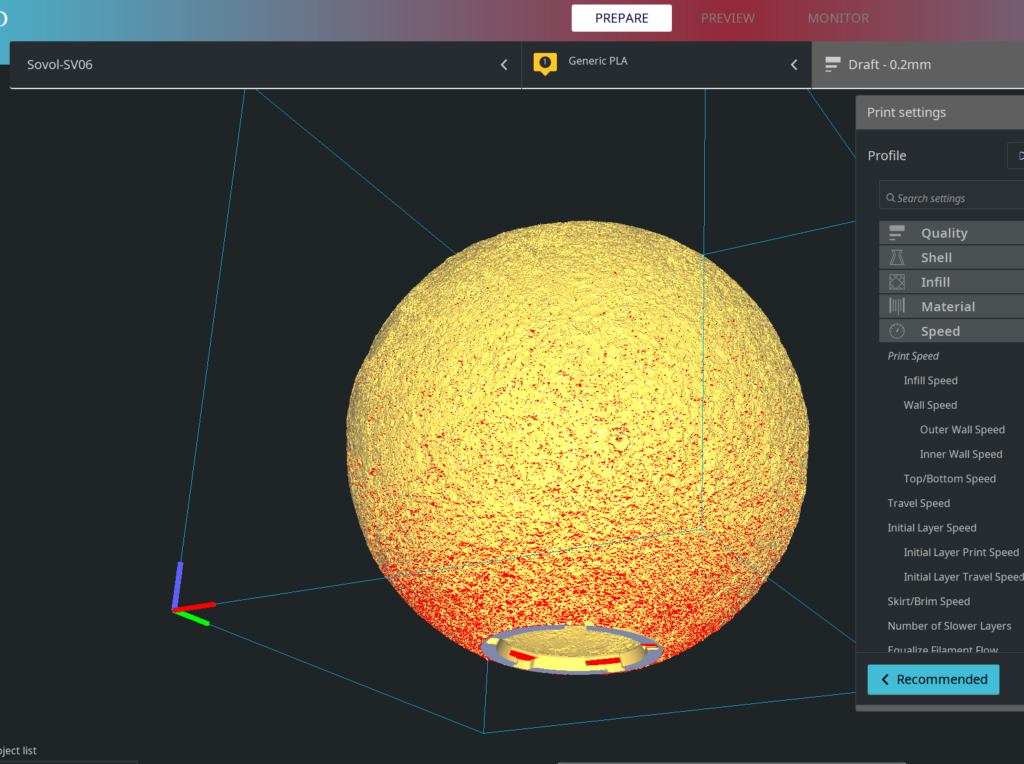
The model shows a lot of red spots (overhangs), but it prints ok. Probably because of the tiny curves that attach to each other. See the green paths of the nozzle:
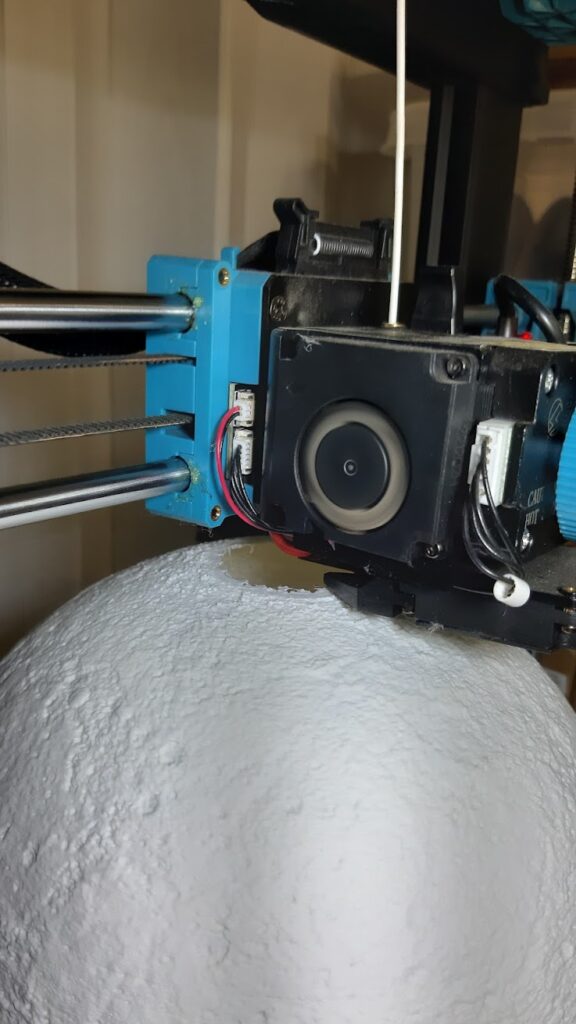
Printing:
It took 4 days and 274g of filament to print the moon.
How it started:
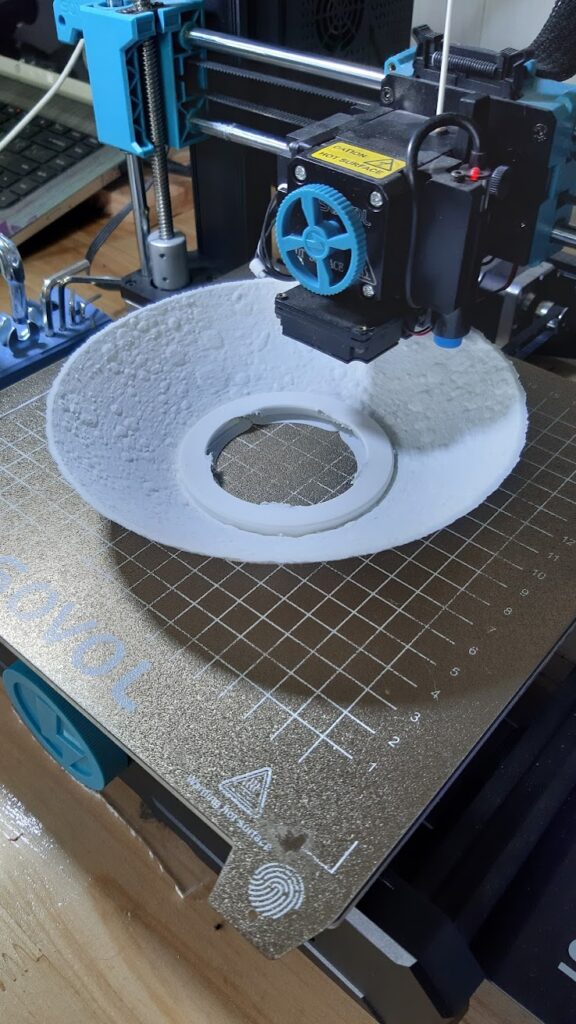
How it went:
Designing the adapter:
My lava lamp broke a few years ago, but I kept the base. I wanted to fit the light on the old lava lamp base so I modified the author’s bayonet adapter and added the bottom part (purple) in TinkerCAD.
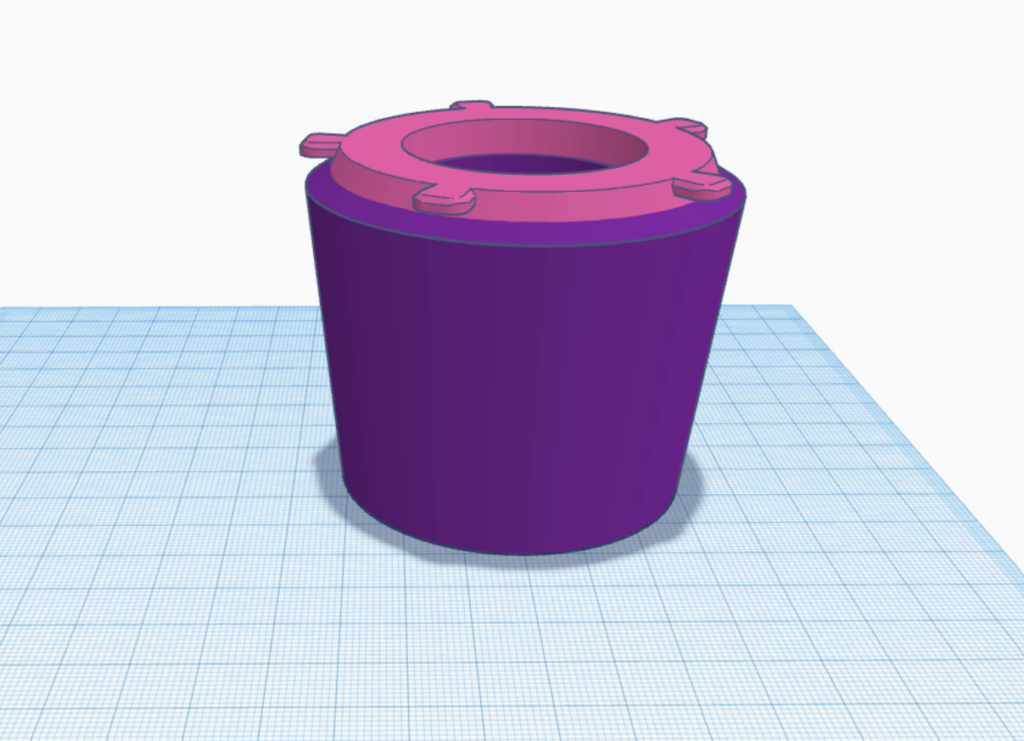
I printed it but supports were unavoidable. I had to cut and sand them off. The I doesn’t look good, but the bayonet connector will be hidden in the lamp anyway.
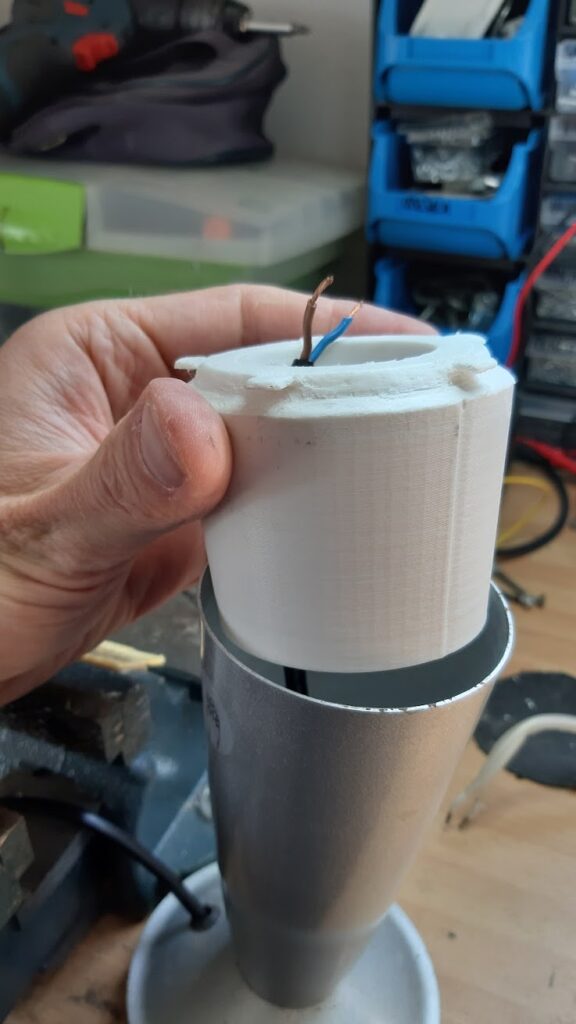
2. Assembling
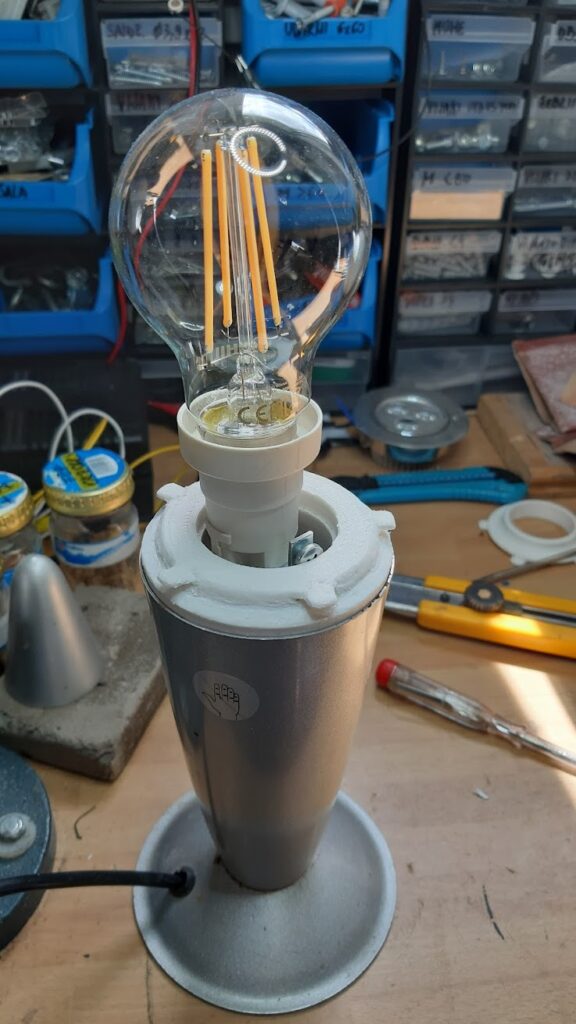
I removed the old E14 bulb socket and replaced it with the E27 one, because it’s easier to find bigger bulbs that are more powerful. I used one 7W LED bulb I had at hand.
It emits a nice warm – white light.
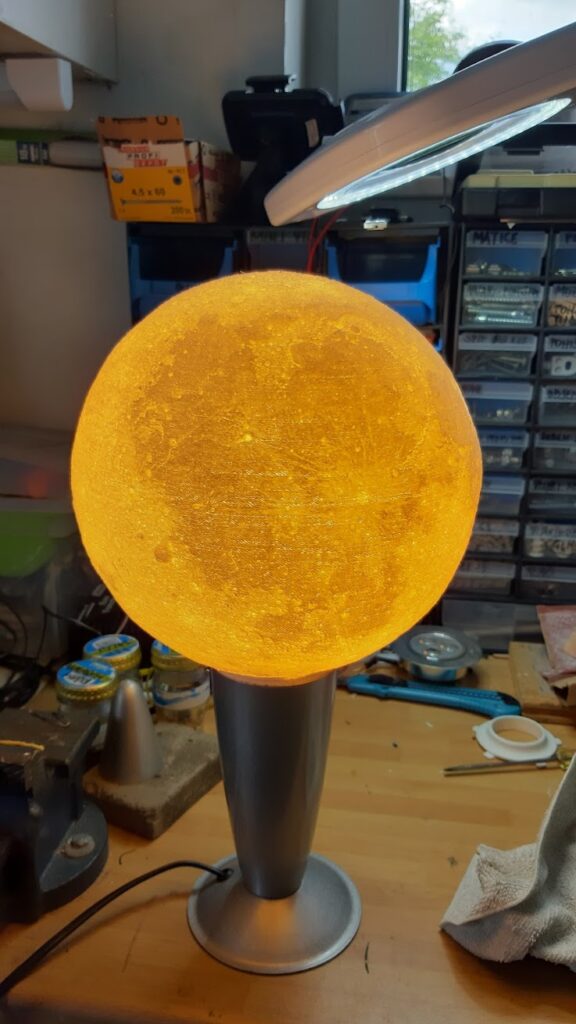
I tried to fit the moon on the bulb, but the hole was too tight.
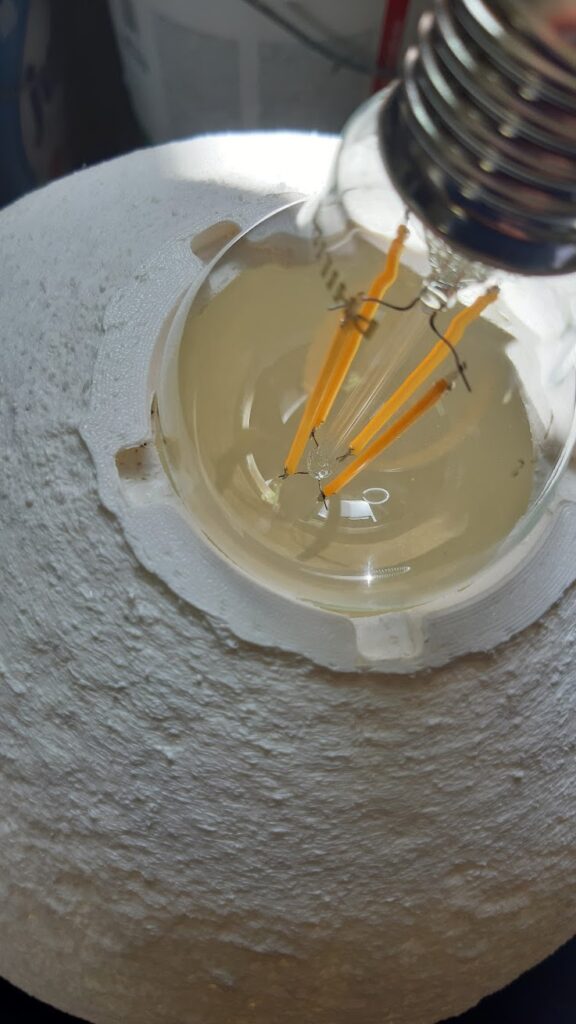
So I increased the hole for 1-2mm with Olfa-knife. Now it fits nicely:
This is a picture by day. At night it glows just enough that I can read it by the lamp.
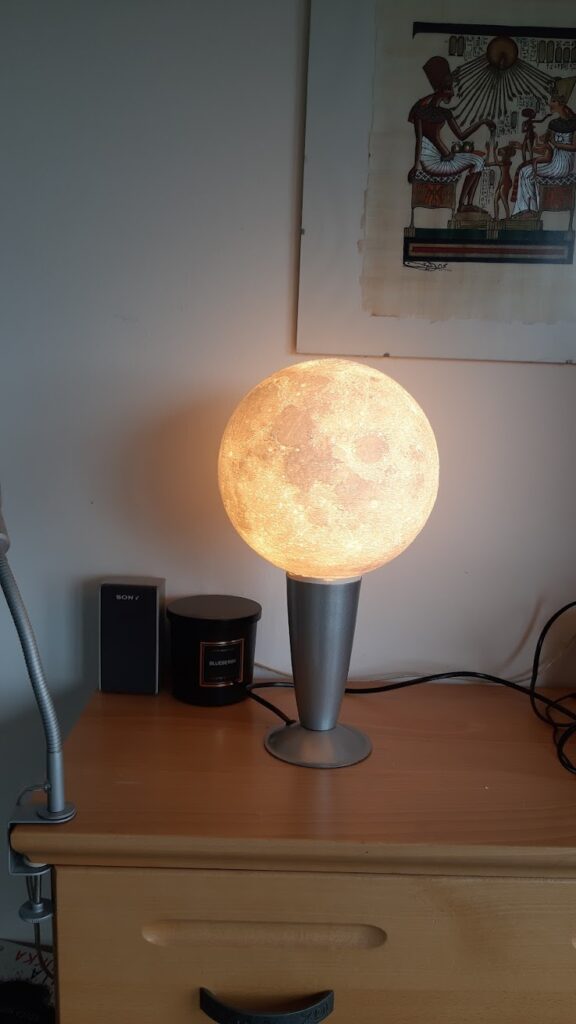
It is magical to have a detailed celestial object so close.
But should I automate it with #homeassistant? Naaa….
Thanks to all the people, who made this possible: the author of this 3d model, the original author, astronomers, photographers etc.
Leave a Reply