3D design and printing with TPU (plant pot stand)
If you’re reading this on fediverse and the layout (embedded pics) is off, here’s the link to the original blog post.
The problem:
My ceramic pot planted with basil had no stand and the water was flowing everywhere after the watering. Some mold grew under the pot because of that.
I had some old #TPU lying around and an afternoon of spare time so I designed and 3D printed the stand.
I’ll describe step-by-step process with all the tools that I use.
1. step: redrawing the pot bottom and measuring
I’ve put a sheet of paper under the pot and sketched it with pencil. Then I measured the radius of circular parts.
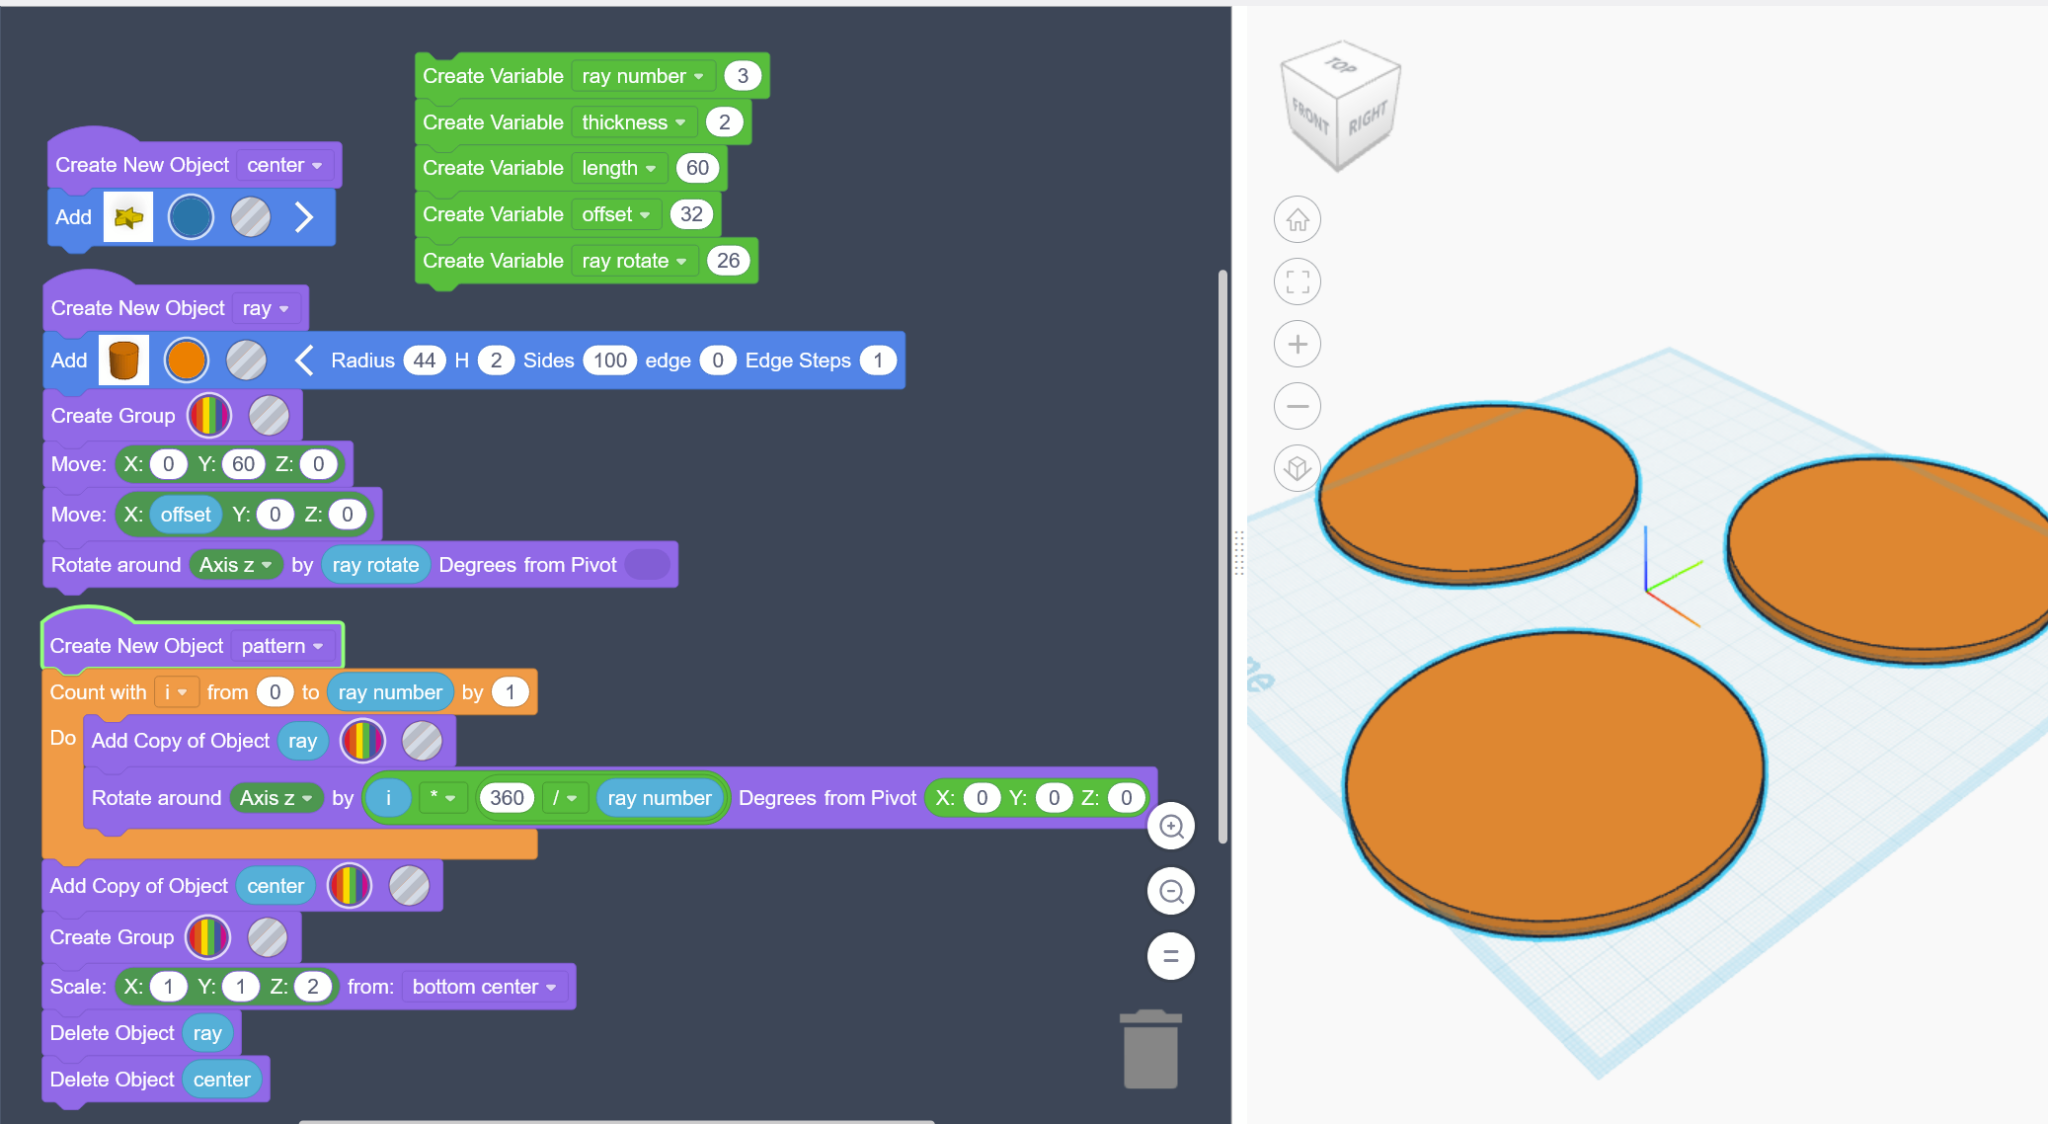
2. step: making 3 cylinders in TinkerCad’s Codeblocks
I couldn’t figure out how to make 3 cylinders equally distributed from the center in TinkerCad (manually). Then I found ‘Tinekrcad Codeblocks’ that allows constructing 3D objects using the code (similar to OpensCad).
I reused built-in example, modify it a bit to draw 3 cylinders on the spokes of a 3-sided star (invisible, just a helper):
3. step: exporting from Codeblocks and importing to TinkerCad
I’ve exported generated shape to .stl and imported it to TinkerCad. Maybe there is a more direct way to transfer the shape from CodeBlocks to TinkerCad, but I couldn’t find it.
4. Adding the missing parts in the centre
There is something missing between the circles, right?
I’ve designed the missing center part in TinkerCad: I added a bigger shallow cylinder to the middle (orange – see the pic below) and cut out the edges (gray). The blue parts are imported from Codeblocks.

The remaining part filled the empty space between the displaced blue cylinders.

5. Cutting out
I designed a similar shape (steps 1-4) for a cutout:

6. The final shape
The final shape is 8mm high and the cutout is 6mm deep – the botton is 2mm thick.

7. Slicing
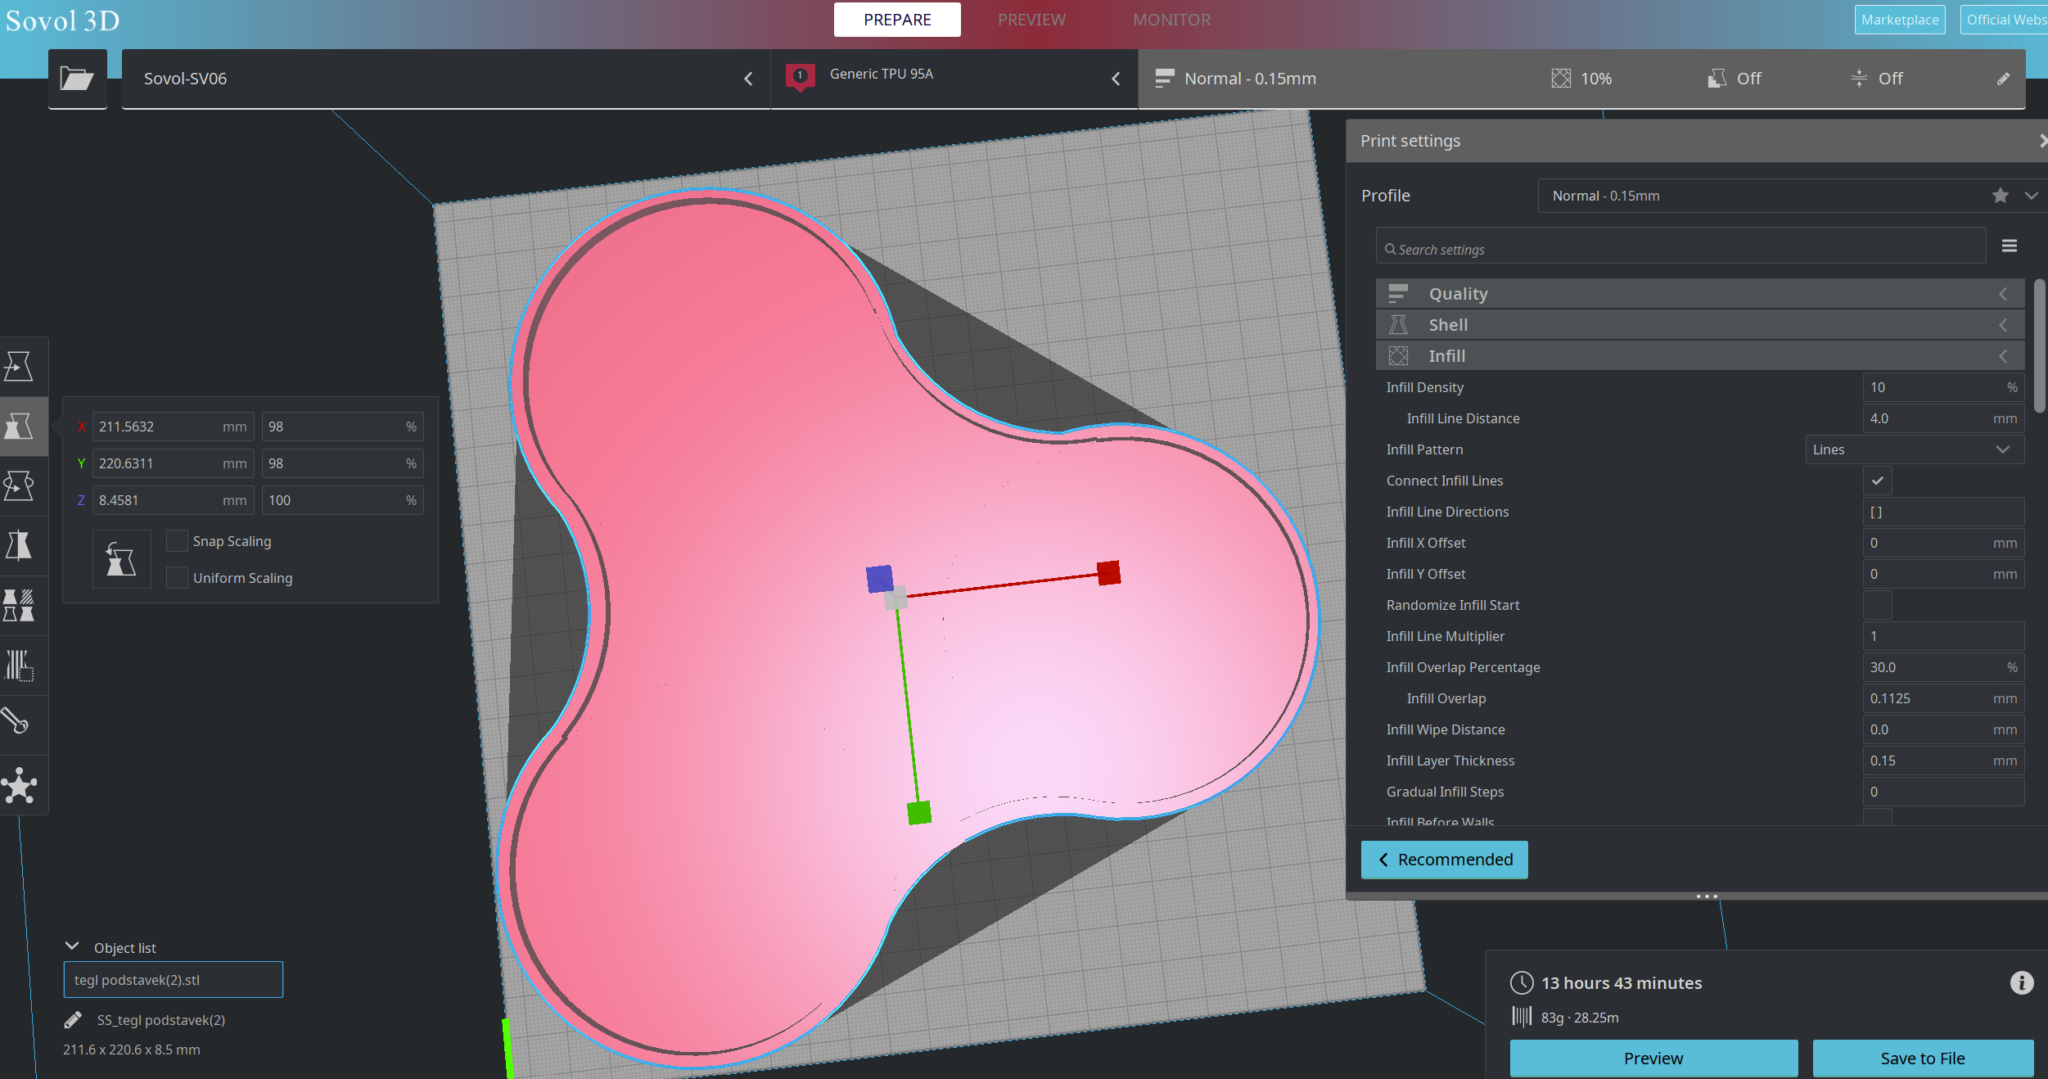
I’ve used the following setting for 3D printing:
- printer: Sovol SV06 with Marlin and Octoprint on separate server connected via USB)
- sliced with: Sovol Cura 1.5.4 (old, but still works better for me than the latest version)
- material set in slicer: Generic TPU 95A
- bed temp.: 60C
- nozzle temp.: 220C (230C later)
- fan speed: 5% (later changed to 0%)
- nozzle size: 0.4mm
- layer height: normal – 0.15mm
- speed: 40mm/s
- infill: 10% (but it’s not needed here)
- other settings: ‘arc welder’, ‘dynamic precision’ and ‘use adaptive layers’ turned on in Sovol Cura
- hardware settings: I’ve loosened down the screw (spring) that pushes against the filament at the extruder entry. Otherwise, the filament will get stuck in the extruder gears.
I had some problems placing the object correctly on the printing bed. The object is so big it covers the whole printing bed. After some retries (rotating, moving it around, reducing the size to 98%) I found almost perfect position, but not quite.
8. 3D printing with TPU
I also used the filament directly from the filament drying chamber (#Sovol), set firstly to 40C and after the 1st layer to 50C. I’ve noticed the filament was a bit wet (I heard pops and crackles at the beginning of printing).
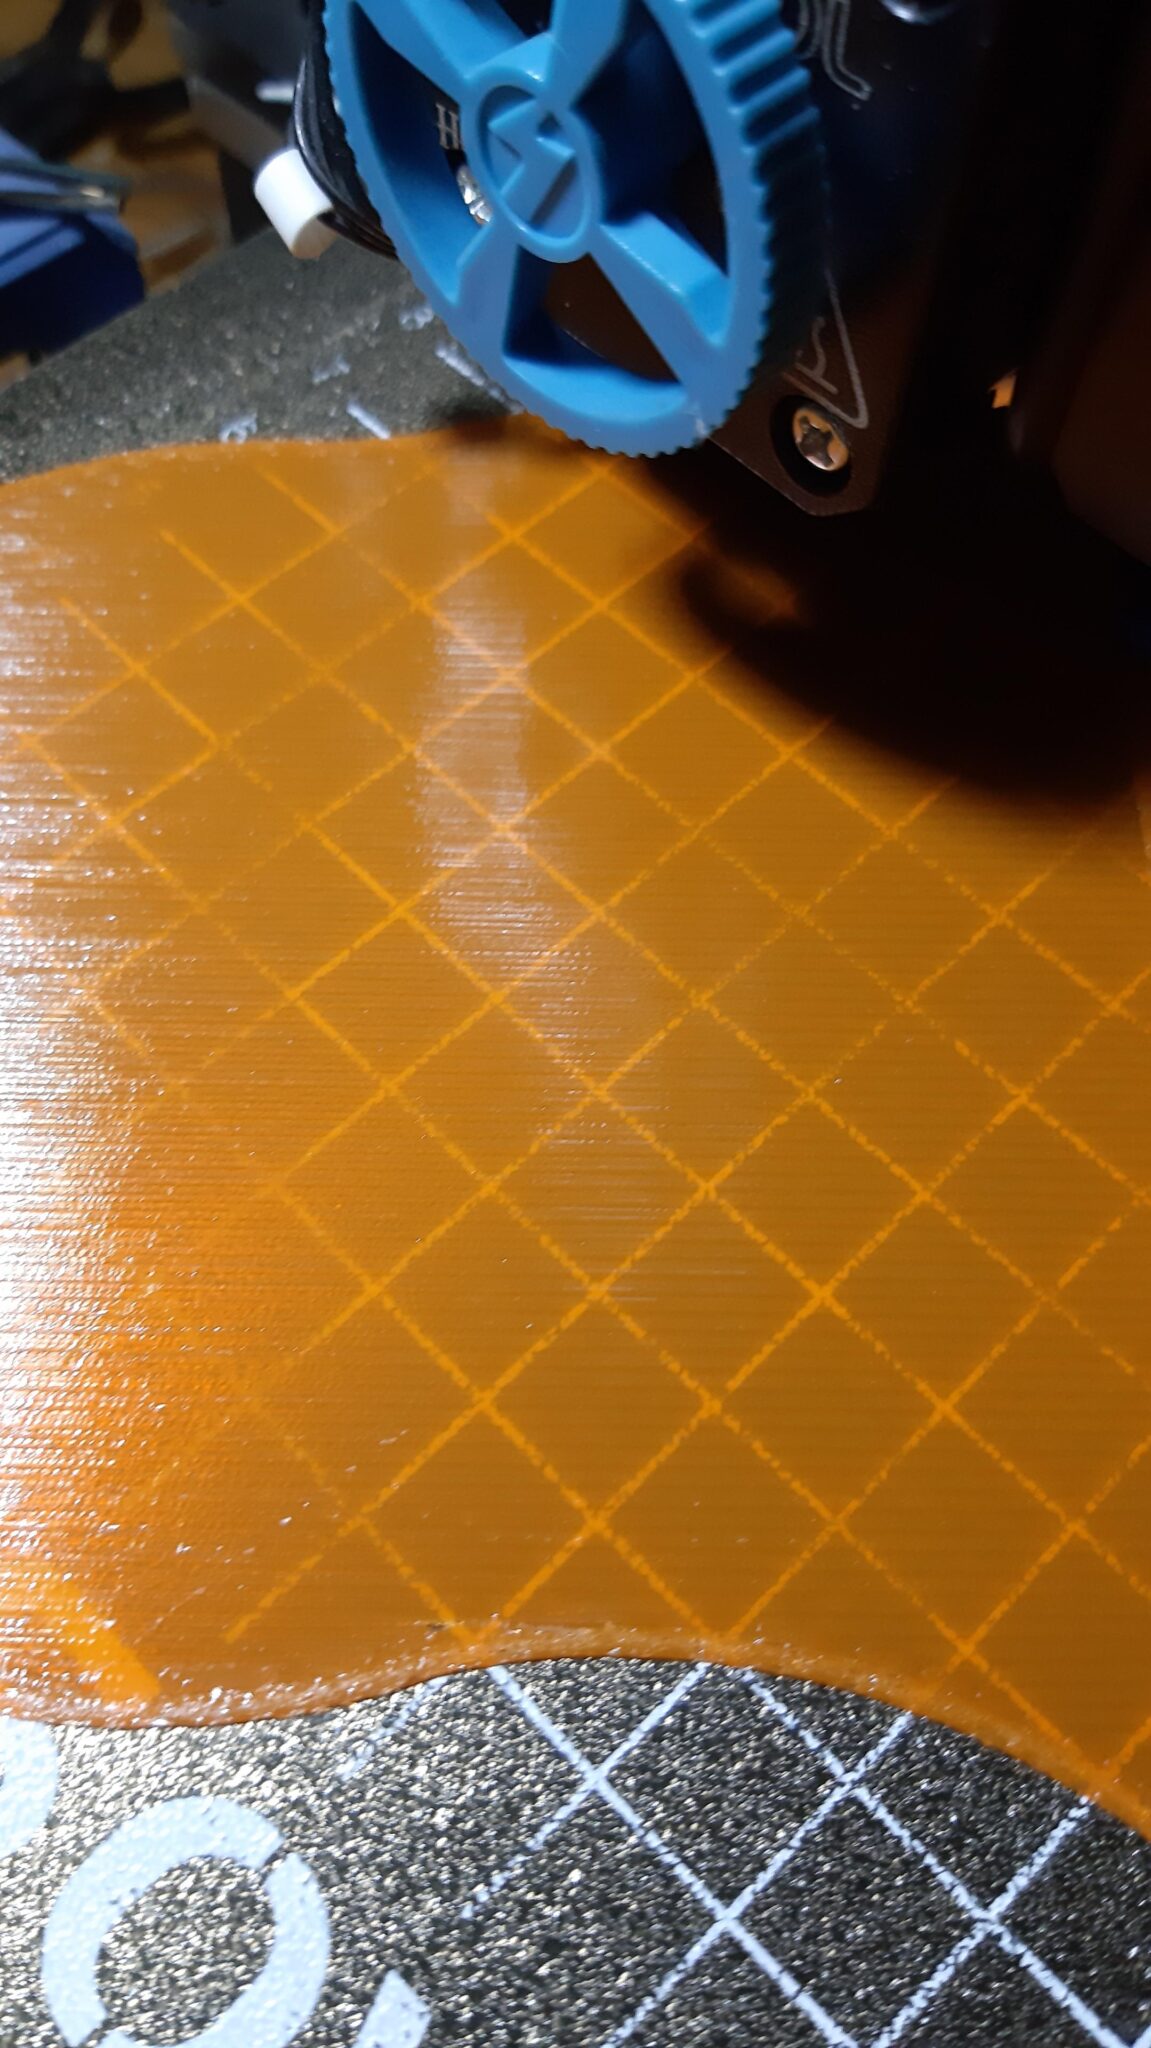
The first layer was perfect, almost fits to the category ‘1st layer porn’:
… but the second layer was crap (sorry, no picture). It was underextruded with long gaps of missing filament.
I changed the settings mid-print to:
- fan speed: 0%
- Extrusion rate: 110%
- Temperature: 230C
After this change, it printed better.
I used #Octoprint and #ESP32 cam to record the timelapse. I know, I should move the camera somewhere closer to the printing bed to get a better timelapse.
I’m also using Octoprint’s PrettyGCode viewer to monitor the progress:

To monitor the print in realtime from my living room (the printer is located in a workshop), I’m using #HomeAssistant with the ESP32 camera video feed embedded and the automation that notifies me when the printing is done.
The final result after 14hrs of printing and 83g (28m) of spent filament:
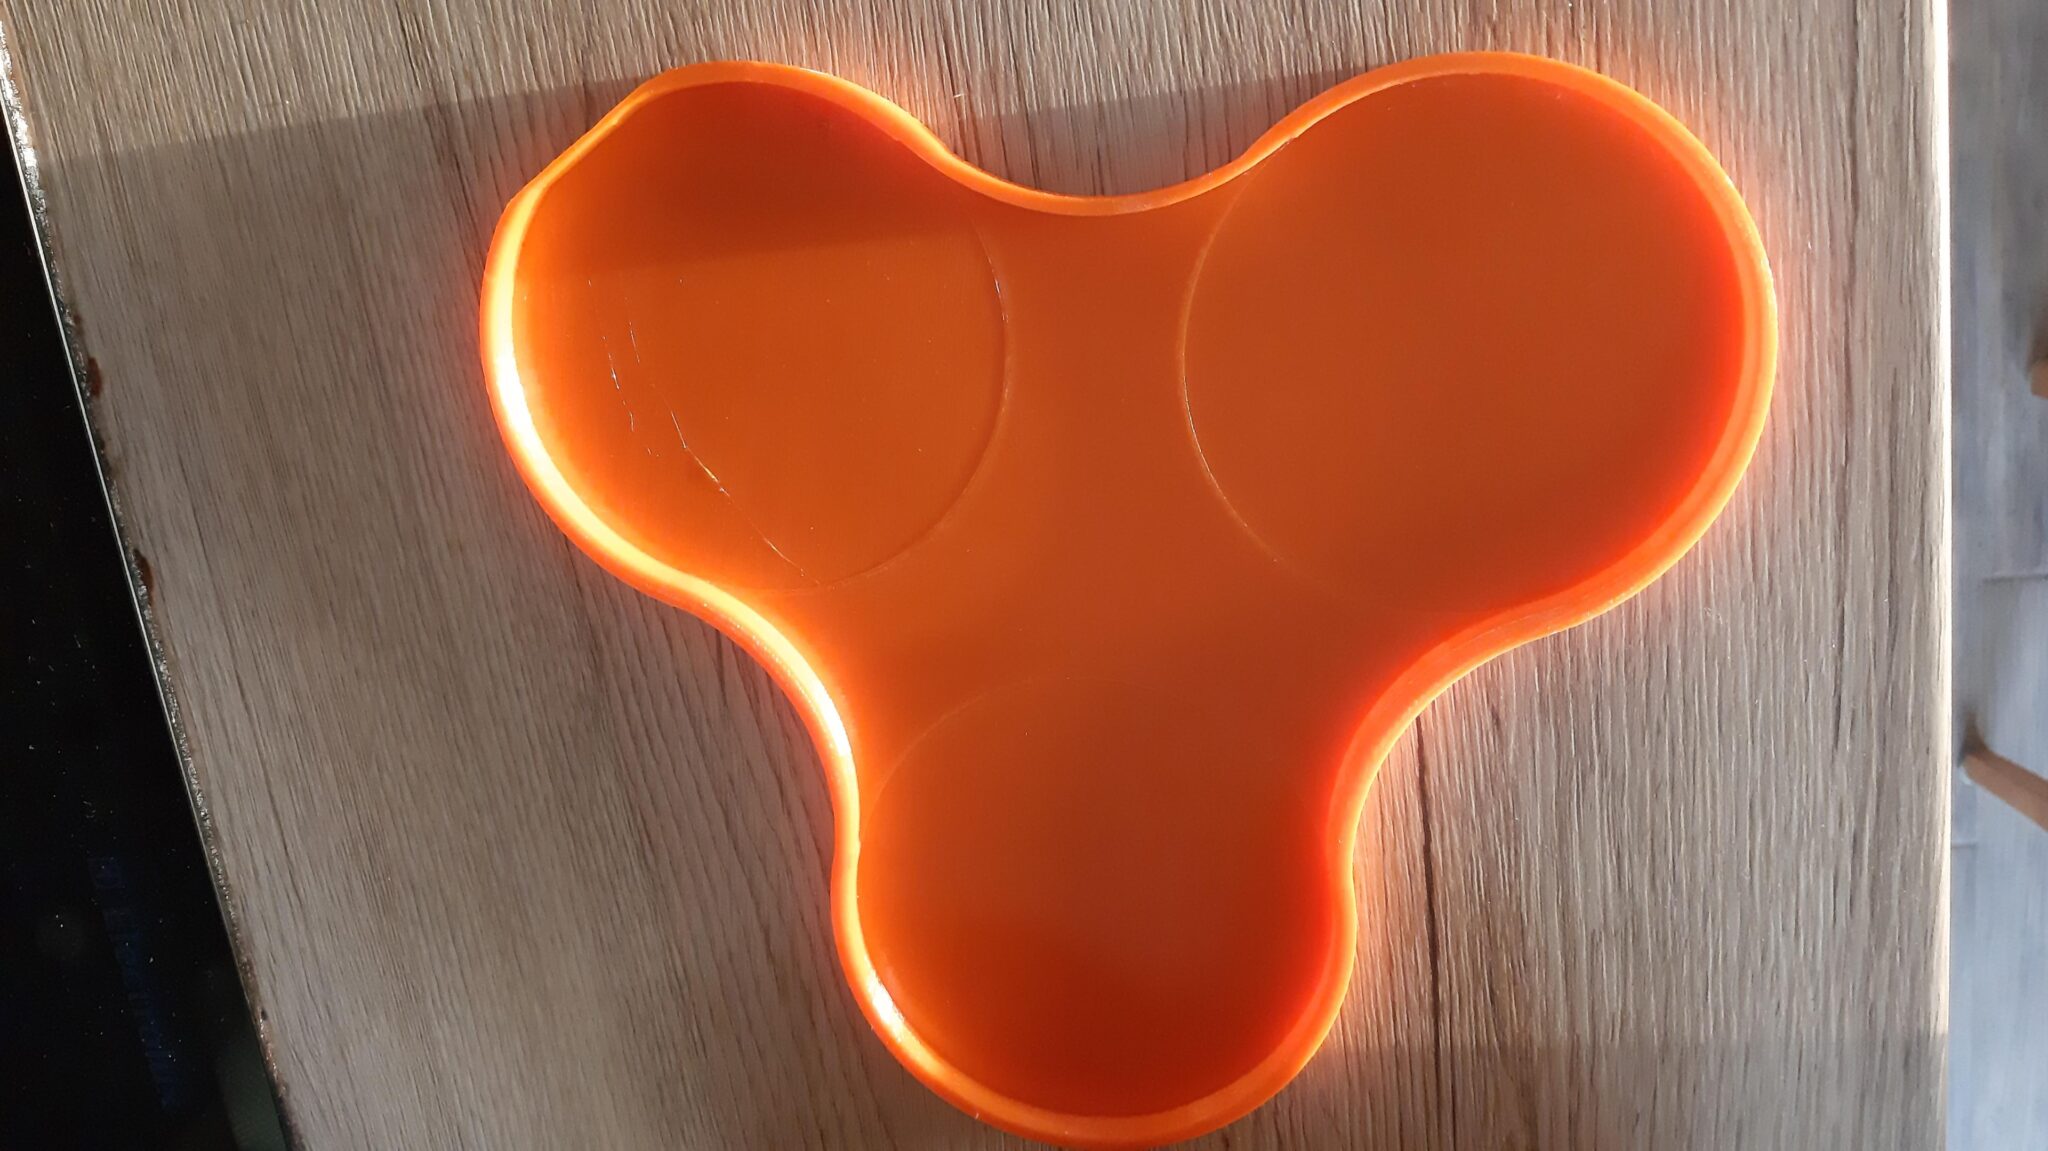
I’m quite satisfied with the final result. It’s flexible and no strings, blobs or similar. The flat/cut area at the top left corner is because the size of the object is too big for my printer (23.5 x 23.5cm). I tried to fit it on the plate by rotating it and scaling it to 98%, but that was the best fit I could do. It’s not an issue, because the material is flexible and wraps around the pot.
The pot fits perfectly: Now the water will not flow everywhere.
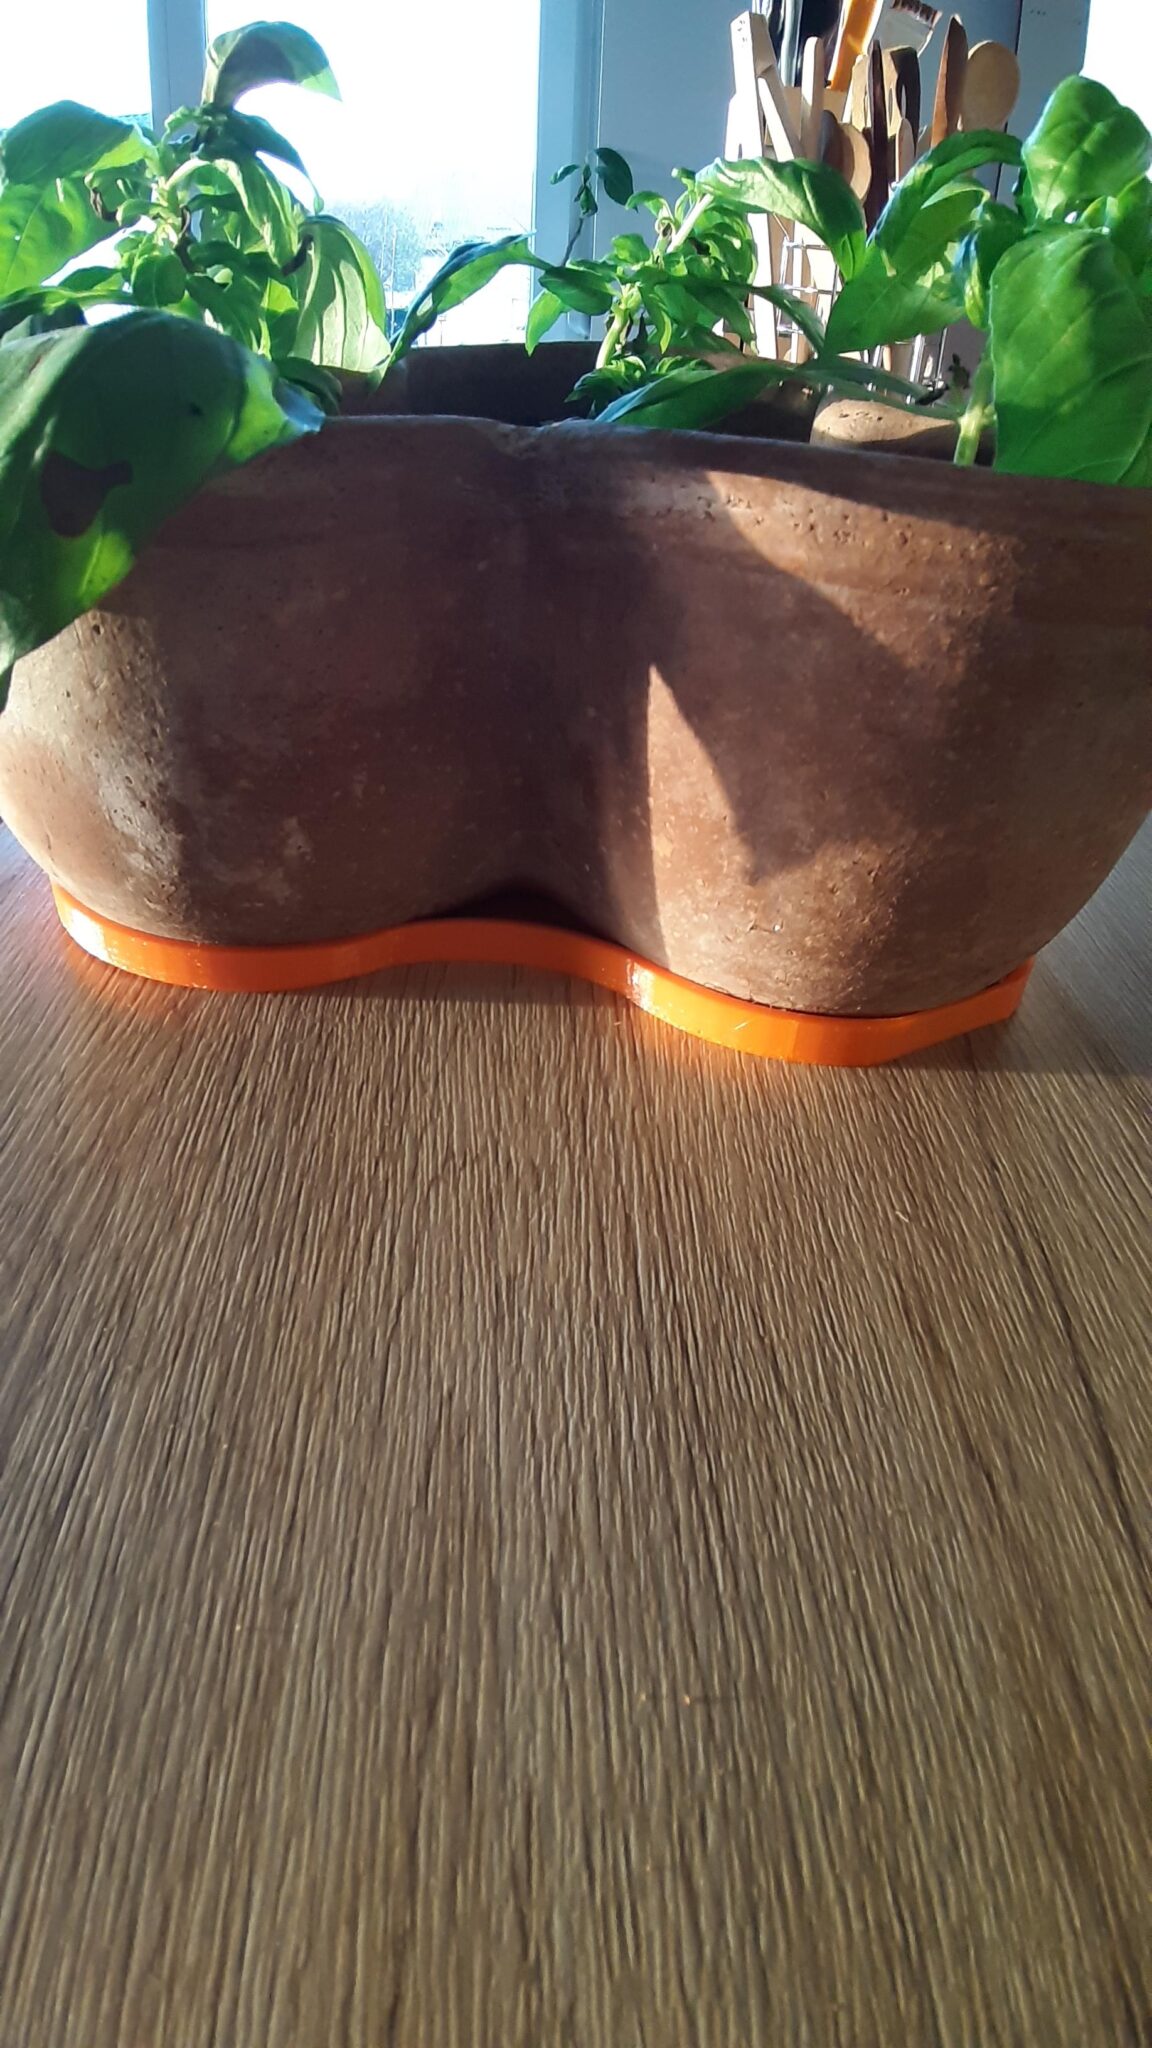
Despite numerous fails (all my fault), I still love #tpu.
It’s finnicky, but the results are good looking, flexible and durable. For more examples of TPU 3D prints see my previous post.
Printables
You can find the .stl on Printables.
Leave a Reply