Link to the original blog post with a nice text/pictures layout.
Intro
It’s like Seti@home, but for archiving the web.
If you like me and hoard information, this project will be to your liking.
“Warrior” software (aka ‘virtual appliance’) by ArchiveTeam (1) helps to preserve digital heritage by scraping and storing disappearing websites (like Blogger blog pages, Telegram pages, Reddit pages, GitHub, Pastebin, Imgur etc.). It’s a group computing effort, similar to Seti@Home (no longer distributing tasks), but it doesn’t search for extraterrestrial signals. Similar: BOINC crowd computing software helps to calculate various problems from medicine, astronomy, physics, earth sciences chemistry etc.
I had some spare CPU cycles on my Proxmox “server” (it’s an old laptop in reality) and I thought it would be nice to help future digital archaeologists.
The problem
The Warrior software is available for VirtualBox and Docker, but I run Proxmox. There are no clear instructions on how to run it in Proxmox.
The solution
After some light tinkering and following YT instructions(by apalrd), I managed to run it in Proxmox.
- I downloaded the virtual appliance (OVA, Open Virtual Appliance format) from ArchiveTeam’s Github repository, file: archiveteam-warrior-v3.2-20210306.ova.
- I followed instructions from this YT video to convert the .ova file to proxmox liking. The author imports the Microtik virtual appliance, but the same process can be applied to the Warrior .ova image with some minor modifications.
- I first created a new VM (not LXC) in Proxmox, named it ‘warrior’, 2 cores, 1GB RAM, and selected ‘do not use any media’:

4. Detach the disks and CDRoms (VM -> Hardware -> Disk -> Detach, Remove
5. Log to the Proxmox host shell and download the .ova image (go to warrior GitHub and copy the link location)

wget https://github.com/ArchiveTeam/Ubuntu-Warrior/releases/download/v3.2/archiveteam-warrior-v3.2-20210306.ova6. Extract .ova (it’s just a tar):
tar -xvf archiveteam-warrior-v3.2-20210306.ova7. Import the disk image (.vmdk) to Proxmox:
qm importdisk 109 archiveteam-warrior-v3.2-20210306-disk001.vmdk local-lvm
This command created 2 disks (60 and 32 GB). The bigger is bootable.
109 – the number of your VM
….vmdk – the name of unpacked disk image
local-lvm – the name of your local proxmox storage:

8. attach it to your VM (I didn’t need to attach it, but if you need it, it’s in the video). Adjust settings (VM -> Hardware -> Harddisk, double click):

I changed the following settings:
- Bus/device: SATA
- Discard
- I turned on ‘SSD emulation’
9. Make it bootable:
VM -> Options -> Boot order, check Enabled

Important: Reorder disks so the “sata1” disk (size 60GB) is the first, otherwise, the system will not boot.
10. (optional) I converted the VM to the template (VM -> convert to template) and cloned it (VM -> clone) and renamed it to ‘warrior-instance1).

11. Start the VM, go to the console, and let it update. When finished, it will print the IP of your server.
12. Open the web browser and
- go to your local IP, port 8001
- enter your nickname under ‘Your settings’.
- select the project under ‘Available projects’ and it should run. I selected ‘Archive’s team choice’:

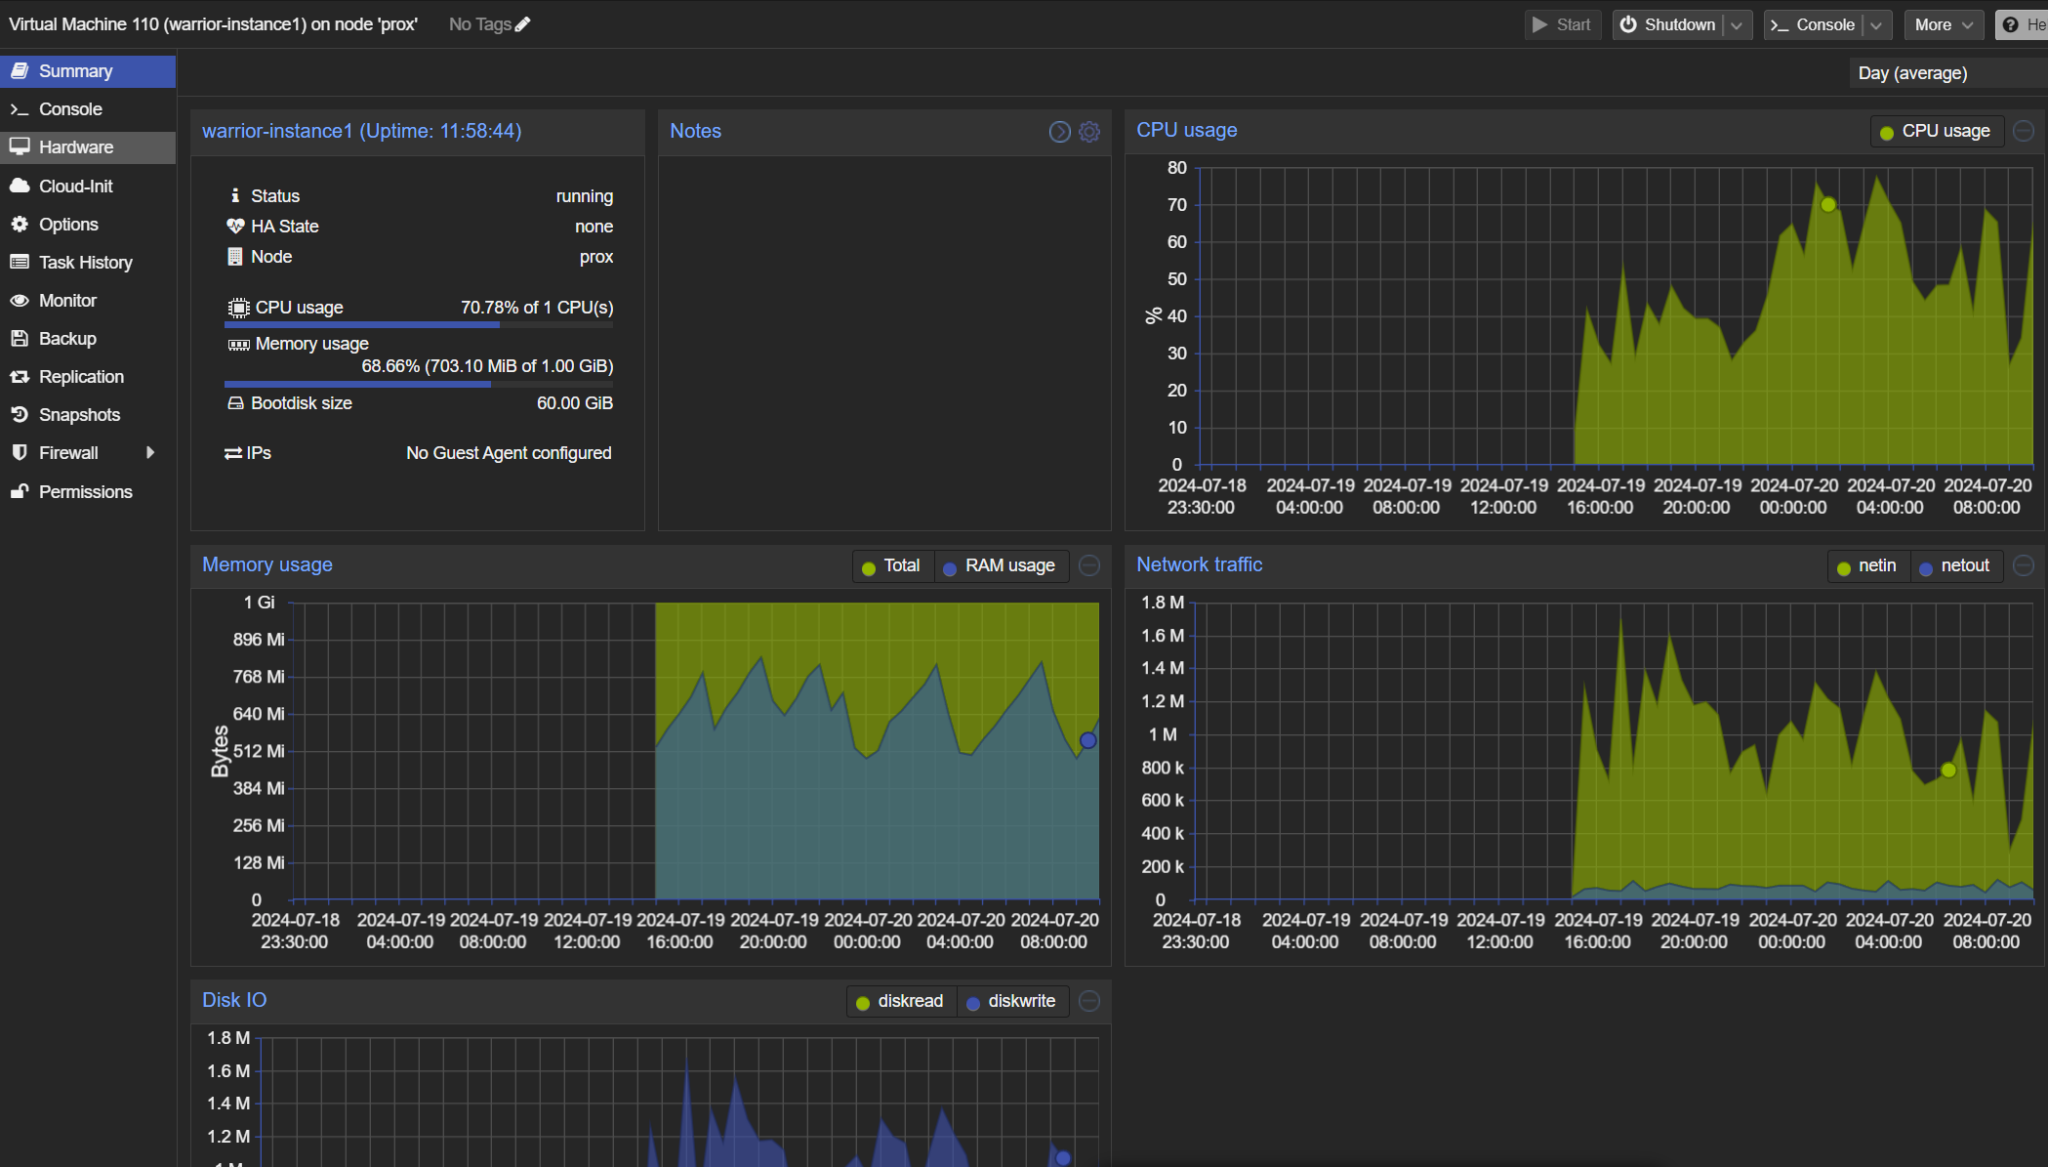
13. I reduced the number of VM cores from 2->1 and it still runs fine. It uses 30-80% of 1xCPU and 500-700Mb RAM.

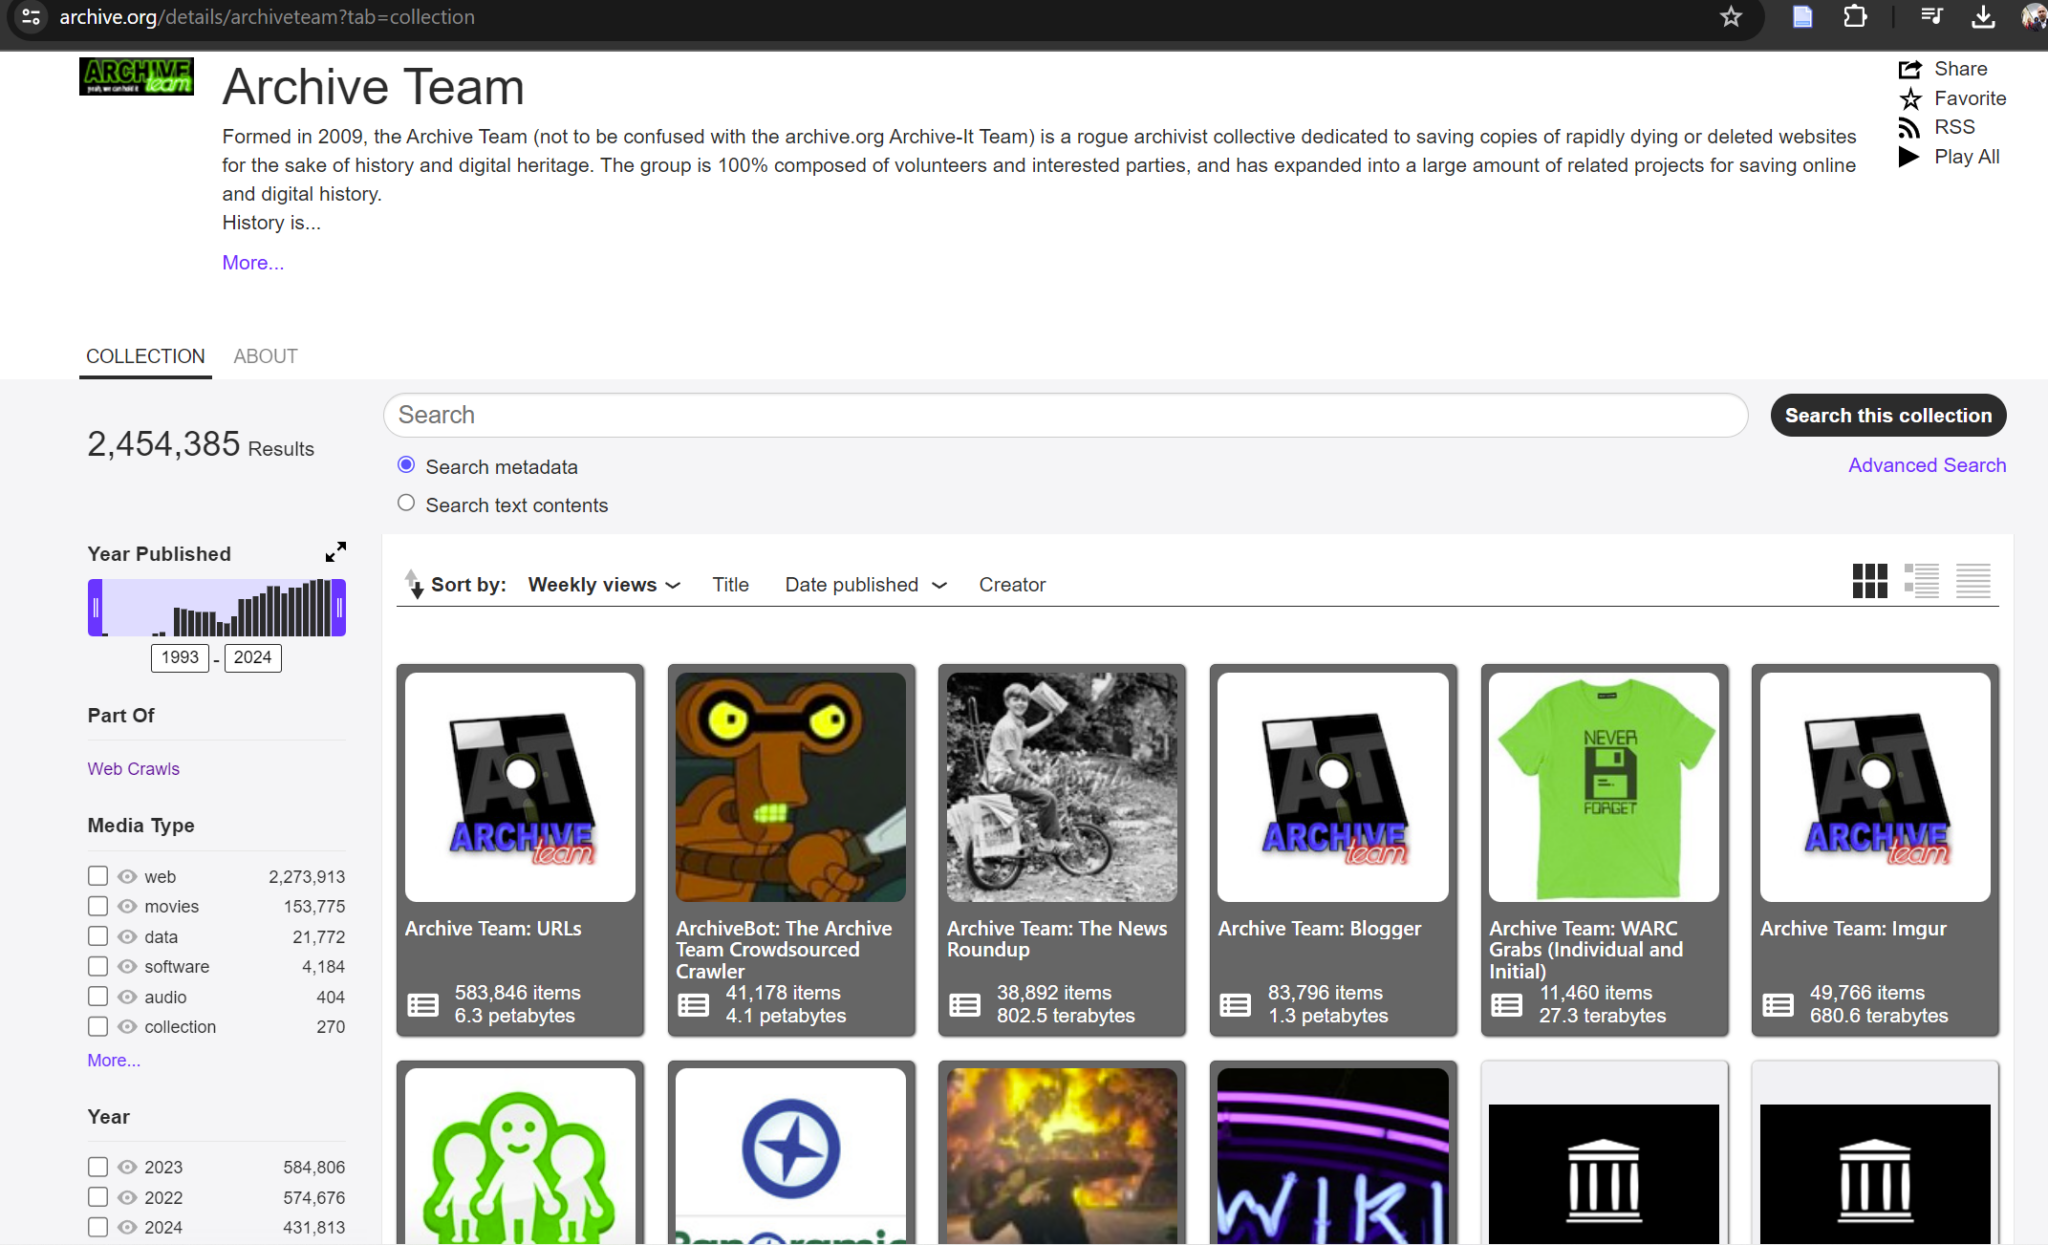
14. I spent some time to figure out where I could find the archives made by the ArchiveTeam / Warrior software.
If I understand correctly, they can be found in the archive.org collections:

Disclaimer
The links to the products are not affiliate links and I don’t receive any compensation for linking.
The code and the ideas are mostly from YT videos and community forums.
Hashtags: #warrior #archive #proxmox #digitalheritage
Leave a Reply