Homemade ESP32 webcam
Link to the original blog post with a nice text/pictures layout.
The problem:
I want to see what’s happening around the house, especially if the dog is naughty again and digging holes.
Actually, there is no problem. I just like to tinker.
The solution:
A cheap webcam (10€) integrated in #homeassistant.
HW parts:
- esp32 cam (I ordered the variant with a USB hat and external antenna)
- 3Dprinted enclosure
- USB cable and power supply
SW:
- #HomeAssistant (server)
- #ESP32Home add-on
- 3dmodel for enclosure
Tools:
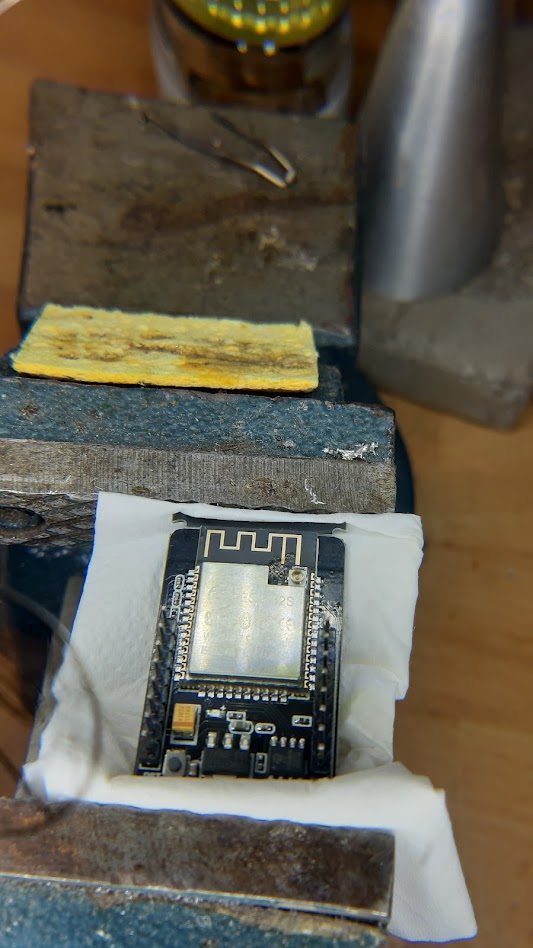
- soldering iron (too bulky)
- soldering flux
- tweezers with a thin tip (the ones that came with 3d printer)
- magnifying glass with a LED light
- vise (for holding the board steady)
- shaky hand
- a bit of patience
The process:
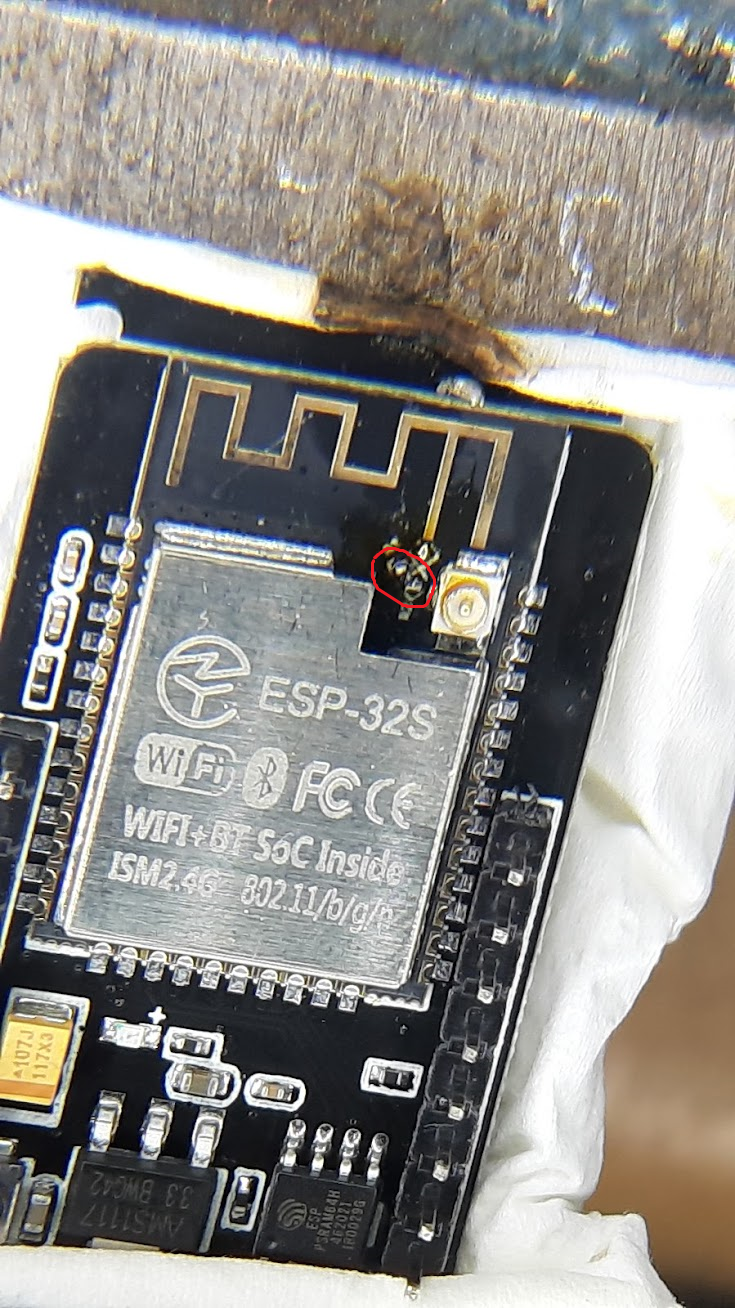
The ESP32-CAM camera comes with an internal and external antenna. To use the external antenna, a small resistor on the board must be resoldered (instructions).
- I re-soldered a tiny resistor near the antenna connector to switch the antenna from internal to external. It would be great if the board producer used some kind of jumper instead. I know, the costs.
- (I was bitching about it on Mastodon where I was taught that 99% of people can’t solder things this tiny. Well, I didn’t know that before.)
It took me quite some time and burned fingers to solder a resistor. It’s probably the size of 0603 (metric). Luckily I didn’t fry the electronics. Here’s the photo under a magnifying glass, red circle:
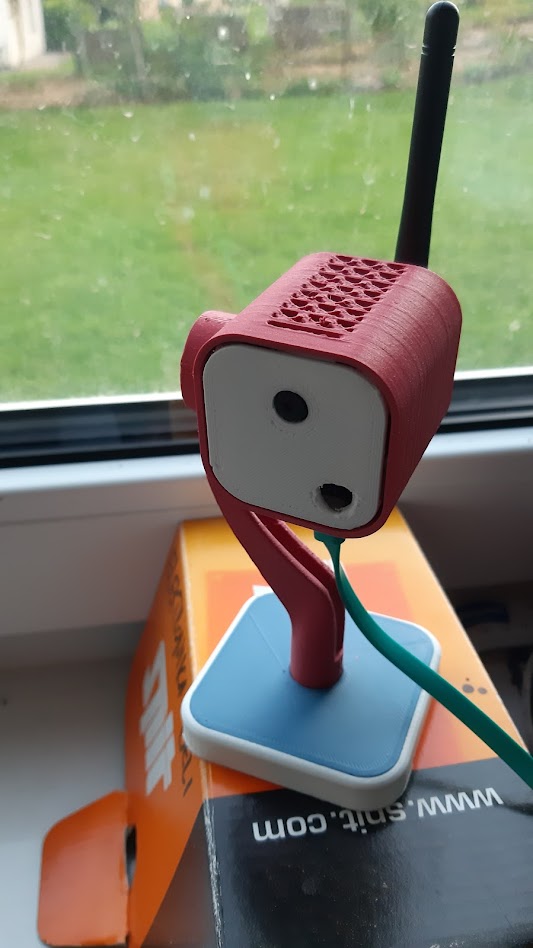
2. Then I searched for the appropriate case on Printables. I liked this 3D model, because it has ventilating holes at the top, a stand and a hole for the antenna and it looks nice. I used some remaining PLA filaments of various colours:
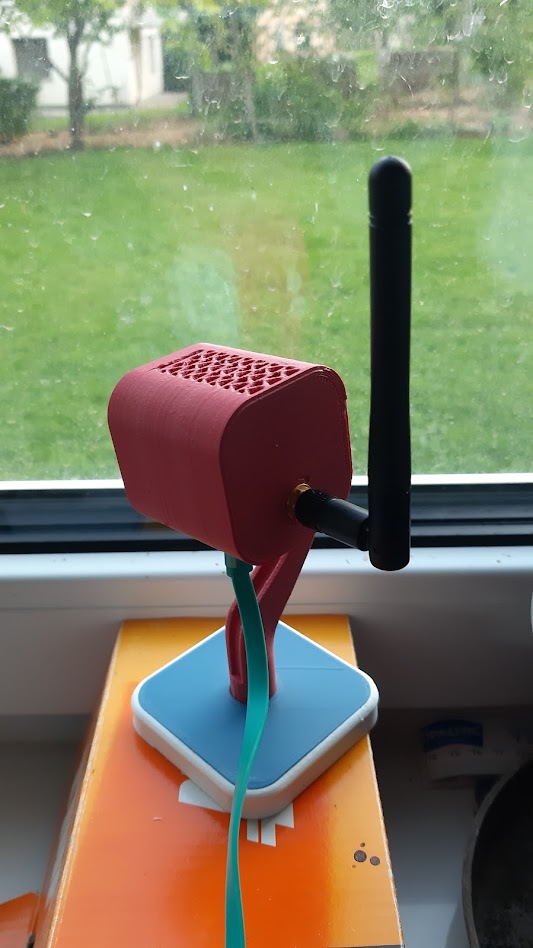
I had to enlarge (using a special technique* involving a hot drill) the bottom-right hole because the onboard LED on my board was slightly shifted:
* heating the drill using a small propane torch
4. I flashed the board with ESPHome firmware (actually I did it before the assembly to see if it survived soldering). I used an online ESP32Home flasher. I had some issues – I still don’t know which button to hold during the start of the board (left or right). Anyways, after some retries flashing via USB succeded.
After the first flashing with a connected USB cable, all the next ones can be done via wi-fi.
ESPHome configuration
Then I searched for various pieces of code on the ESPHome community forums and blogs (1, 2, 3) and came up with the following.
ESP32-Cam exposes the following entities to HA:
- a camera
- a switch (for the white LED)
- a switch (for the red status LED)
- a slider (for the white LED brightness)
- a switch (for restarting a board)
- a binary sensor (for the status of the board).
+ it is accessible as a web server on port 8080 (stream) and 8081 (still pictures).
The ESPHome yaml code to achieve the above functionalities:
... skipping the first part, wifi connectivity, substitutions etc.

esp32_camera:
  id: espcam
  name: esp-cam
  external_clock:
    pin: GPIO0
    frequency: 20MHz
  i2c_pins:
    sda: GPIO26
    scl: GPIO27
  data_pins: [GPIO5, GPIO18, GPIO19, GPIO21, GPIO36, GPIO39, GPIO34, GPIO35]
  vsync_pin: GPIO25
  href_pin: GPIO23
  pixel_clock_pin: GPIO22
  power_down_pin: GPIO32
  resolution: 1280x1024
  jpeg_quality: 10  # max. 63
  max_framerate: 10.0fps
  idle_framerate: 0.1fps
  vertical_flip: False
  horizontal_mirror: false
  brightness: 2 # -2 to 2
  contrast: 1 # -2 to 2
  special_effect: none
  # exposure settings
  aec_mode: auto
  aec2: false
  ae_level: 0
  aec_value: 300
  # gain settings
  agc_mode: auto
  agc_gain_ceiling: 2x
  agc_value: 0
  # white balance setting
  wb_mode: auto

esp32_camera_web_server:
  - port: 8080
    mode: stream
  - port: 8081
    mode: snapshot

output:
# white LED
  - platform: ledc
    channel: 2
    pin: GPIO4
    id: espCamLED

# red status light
  - platform: gpio
    pin:
      number: GPIO33
      inverted: True
    id: gpio_33

light:
  - platform: monochromatic
    output: espCamLED
    name: esp-cam light
  - platform: binary
    output: gpio_33
    name: esp-cam led

switch:
  - platform: restart
    name: esp-cam restart

binary_sensor:
  - platform: status
    name: esp-cam status

#slider for led
number:
  - platform: template
    name: Camera Led Slider
    optimistic: true
    min_value: 0
    max_value: 100
    step: 1
    mode: slider
    on_value:
      then:
        lambda: 'id(espCamLED).set_level(x/150);'
Home Assistant
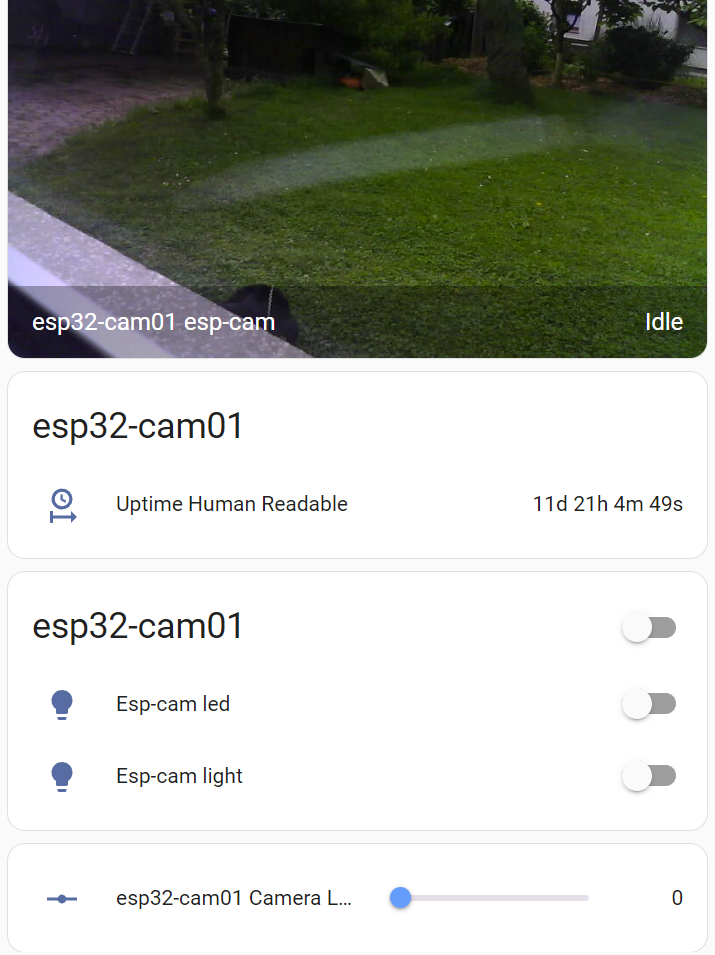
I’ve set up a simple dashboard in Home Assistant that shows idle preview (0.1 fps), uptime, switches for white LED and status LED and a slider for adjusting white LED.
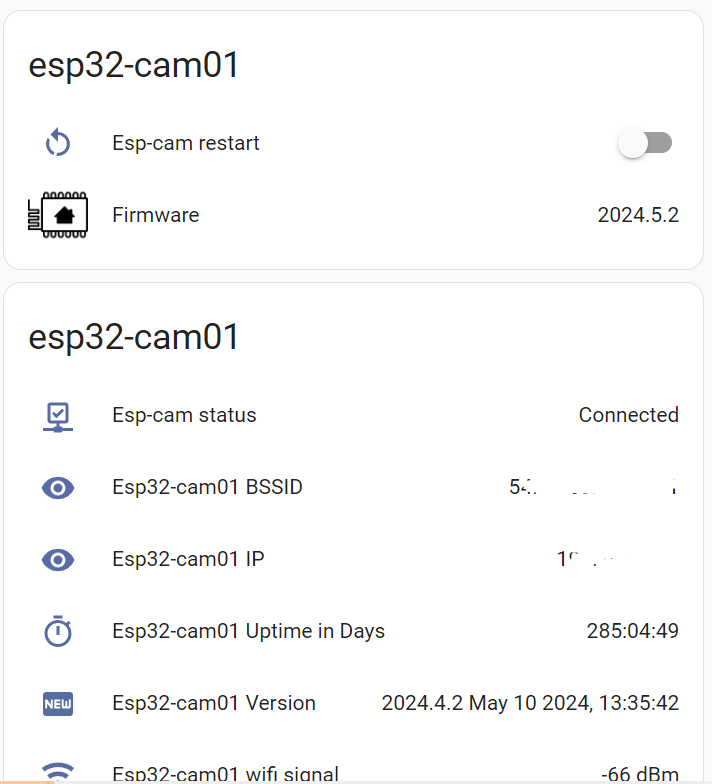
The image below shows various statuses related to the ESP32 board, like restart switch, firmware, connection status, IP, firmware version and WIFI signal (the code above does not include these entities).
Conclusions/Key takeaways
Except for the soldering, this DIY camera is not too difficult to build.
The image quality is ok-ish (1600×1200).
The framerate is okay-ish for special purposes (e. g. door camera, environment camera). I get about 3-5fps in my case (different floor than the wifi router).
It is more stable than my other ‘IP webcam’ app running on Android phones. This app keeps stopping every few days, while ESP32 is stable.
TODO
What still remains is:
- I’d like to adjust the brightness etc. on the fly (without recompiling the firmware), but I didn’t find the appropriate .yaml code for it.
- integration in MotionEye (for recording the videos and motion detection) or Frigate (for object detection). I tried to integrated it to MotionEye, but it is very slow or the stream is mostly broken.
Disclaimer
The links to the products are not affiliate links and I don’t receive any compensation for linking.
The code and the ideas are mostly from HomeAssistant and ESPHome community forums.
Hashtags: #esphome #esp32cam #homeassistant #diy
Leave a Reply